Expert Picture and Mirror Hanging Tips - A How-To Guide
- Feb 26
- 3 min read
Updated: Mar 6
Hanging pictures is one of the quickest ways to make a house feel like home - but in London, walls can be anything but straightforward. From delicate Victorian plaster to ultra-hard concrete in modern flats, knowing what you’re drilling into - and how much weight it needs to hold - is crucial.
Here’s a practical, London-focused guide with detailed advice on fixings - and what to do if things don’t quite go to plan.

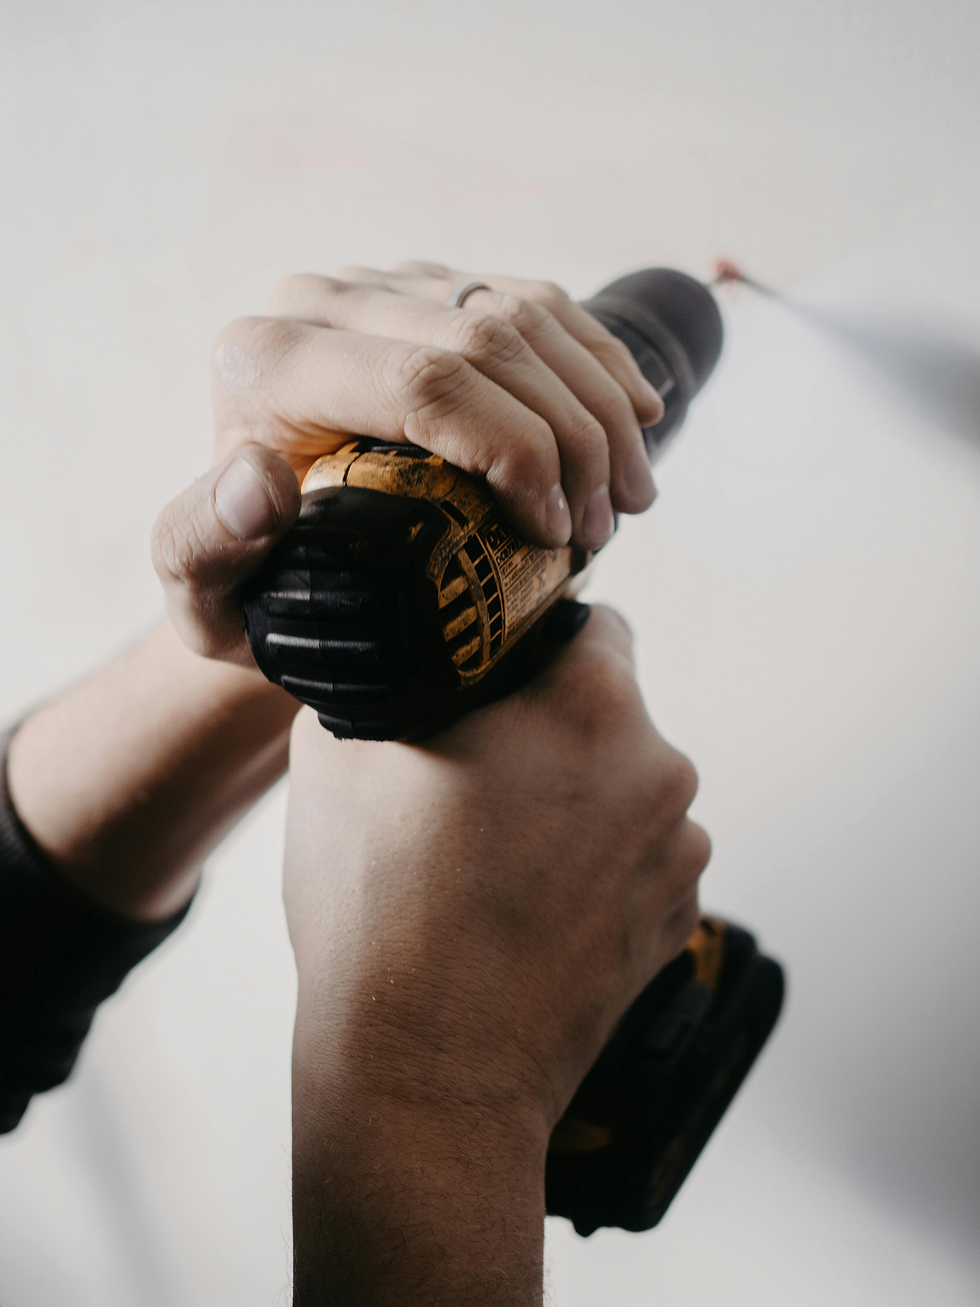
1. Know Your Wall Type First
London homes vary dramatically:
Victorian & Edwardian properties → Often lath and plaster (fragile, hollow sections).
1930s–60s houses → Usually brick with plaster skim.
Modern flats → Plasterboard on studs or solid concrete.
Always identify your wall before selecting fixings - the same anchor won’t work in every surface.
2. Match Fixings to the Weight of the Item
Choosing the correct fixing is essential for both safety and avoiding wall damage.
Lightweight Items (Up to ~5kg)
Small frames, clocks, lightweight canvases
Best options:
Picture hooks (used gently in plaster)
Small wall plugs + screws (brick walls)
Self-drill plasterboard fixings
Heavy-duty adhesive hooks (good for renters)
In period London homes with lath and plaster, traditional picture hooks often work well - just avoid hammering too firmly.
Medium Weight (5–15kg)
Large framed artwork, mirrors, small shelves
Best options:
Masonry plugs + screws (brick or concrete)
Plasterboard toggle bolts or cavity anchors
Screwing directly into studs (strongest option for stud walls)
Many London flats have dense concrete walls. A hammer drill and quality masonry bit are often necessary.
Always choose fixings rated comfortably above the item’s weight.
Heavy Items (15kg+)
Large mirrors, TV brackets, heavy shelving
Best options:
Heavy-duty expansion bolts (solid masonry)
Through-bolts
Fixing directly into brick behind plaster
Multiple fixing points to distribute weight
Avoid relying solely on plasterboard. In older London properties, plaster can detach from brick over time, even if it initially feels secure.

3. Watch for Pipes and Wires
In compact London homes, pipes and cables often run vertically or horizontally from sockets and switches.
Before drilling:
Use a cable/pipe detector.
Avoid drilling directly above or below sockets.
Take extra care in kitchens and bathrooms.
Repairs in London properties - especially leaseholds - can be expensive and complicated.
4. What If You Make a Mistake?
It happens. A hole in the wrong place or a fixing that fails doesn’t mean disaster - but fixing it properly is important, especially in London rentals or when selling.
Small Holes (Nails, Picture Hooks)
Remove the fixing carefully.
Lightly sand around the hole.
Apply a small amount of interior filler.
Let it dry fully.
Sand smooth and touch up with matching paint.
Most small holes disappear completely with careful filling and paint blending.
Larger Holes (Wall Plugs, Failed Anchors)
Remove the plug or anchor gently.
If the hole is loose or crumbly, widen slightly to remove unstable plaster.
Fill with a strong interior filler (for masonry, use a tougher filler).
Allow to dry fully - don’t rush this stage.
Sand smooth.
Prime if necessary.
Repaint.
If repainting, you may need to paint the entire wall for a seamless finish - particularly if the existing paint has faded (common in bright London flats with lots of natural light).
Damaged Plasterboard
If plasterboard tears or crumbles:
Use a repair patch kit for larger sections.
For major damage, cut a neat square and insert a plasterboard patch before filling and sanding.
In older lath and plaster walls, more extensive cracking may require professional repair.
5. Safety Margins Matter
As a rule:
Choose fixings rated for at least 1.5–2x the object’s weight.
Use two fixings instead of one for wider frames.
Ensure screws reach solid material behind plaster.
London walls are often inconsistent in depth and condition - a slightly longer screw can provide much more security.
6. Final Thoughts
In London homes, successful picture hanging comes down to three things: understanding your wall type, selecting the correct fixings for the weight involved, and taking your time with preparation.
And if you do make a mistake? A careful repair job will leave your wall looking as good as new - with no evidence your first attempt was ever there.
If however, this all seems like a lot to take in and consider - why not get a professional to help you? Reach out to us and we'll select a local expert to come and hang you pictures and objects so they stop gathering dust and you can make the most of your home!


Comments